Third-party Expo plugins
WaveMaker mobile apps are React Native (Expo) projects. Native capabilities come from Expo modules and compatible npm packages that you register in Studio. WaveMaker does not use Cordova or Capacitor for this stack.
Use this guide when you need APIs beyond built-in widgets and device variables (for example expo-battery, expo-haptics, or a community Expo module).
Configuration files
| File | What it does | Where it exists |
|---|---|---|
wm_rn_config.json | Plugins you add in Studio (package names and versions). | src/main/webapp/wm_rn_config.json — edited through Build Preferences → Plugins. |
app.json | Expo settings such as native permission messages and expo.plugins. | Studio: optional — upload under webapp if you need extra settings. Not in the default project tree. Local project: app.json at the root of generated-expo-app when you work with the generated Expo app. |
When to use which
- Add or remove a package → Build Preferences → Plugins (updates
wm_rn_config.json). - Custom native permission text or an Expo config plugin (for example Face ID message) → upload
app.jsonin Studio, or editapp.jsoningenerated-expo-app. - Use the package in UI logic → page or partial Script with
require('package-name').
Built-in device features (camera, location, contacts, calendar, barcode scan, file upload, and similar) work through the matching widgets or device variables without adding them under More Plugins.
Add plugins in Studio
In the left navigation, open Project Configuration, select Build Preferences, then open the Plugins tab.
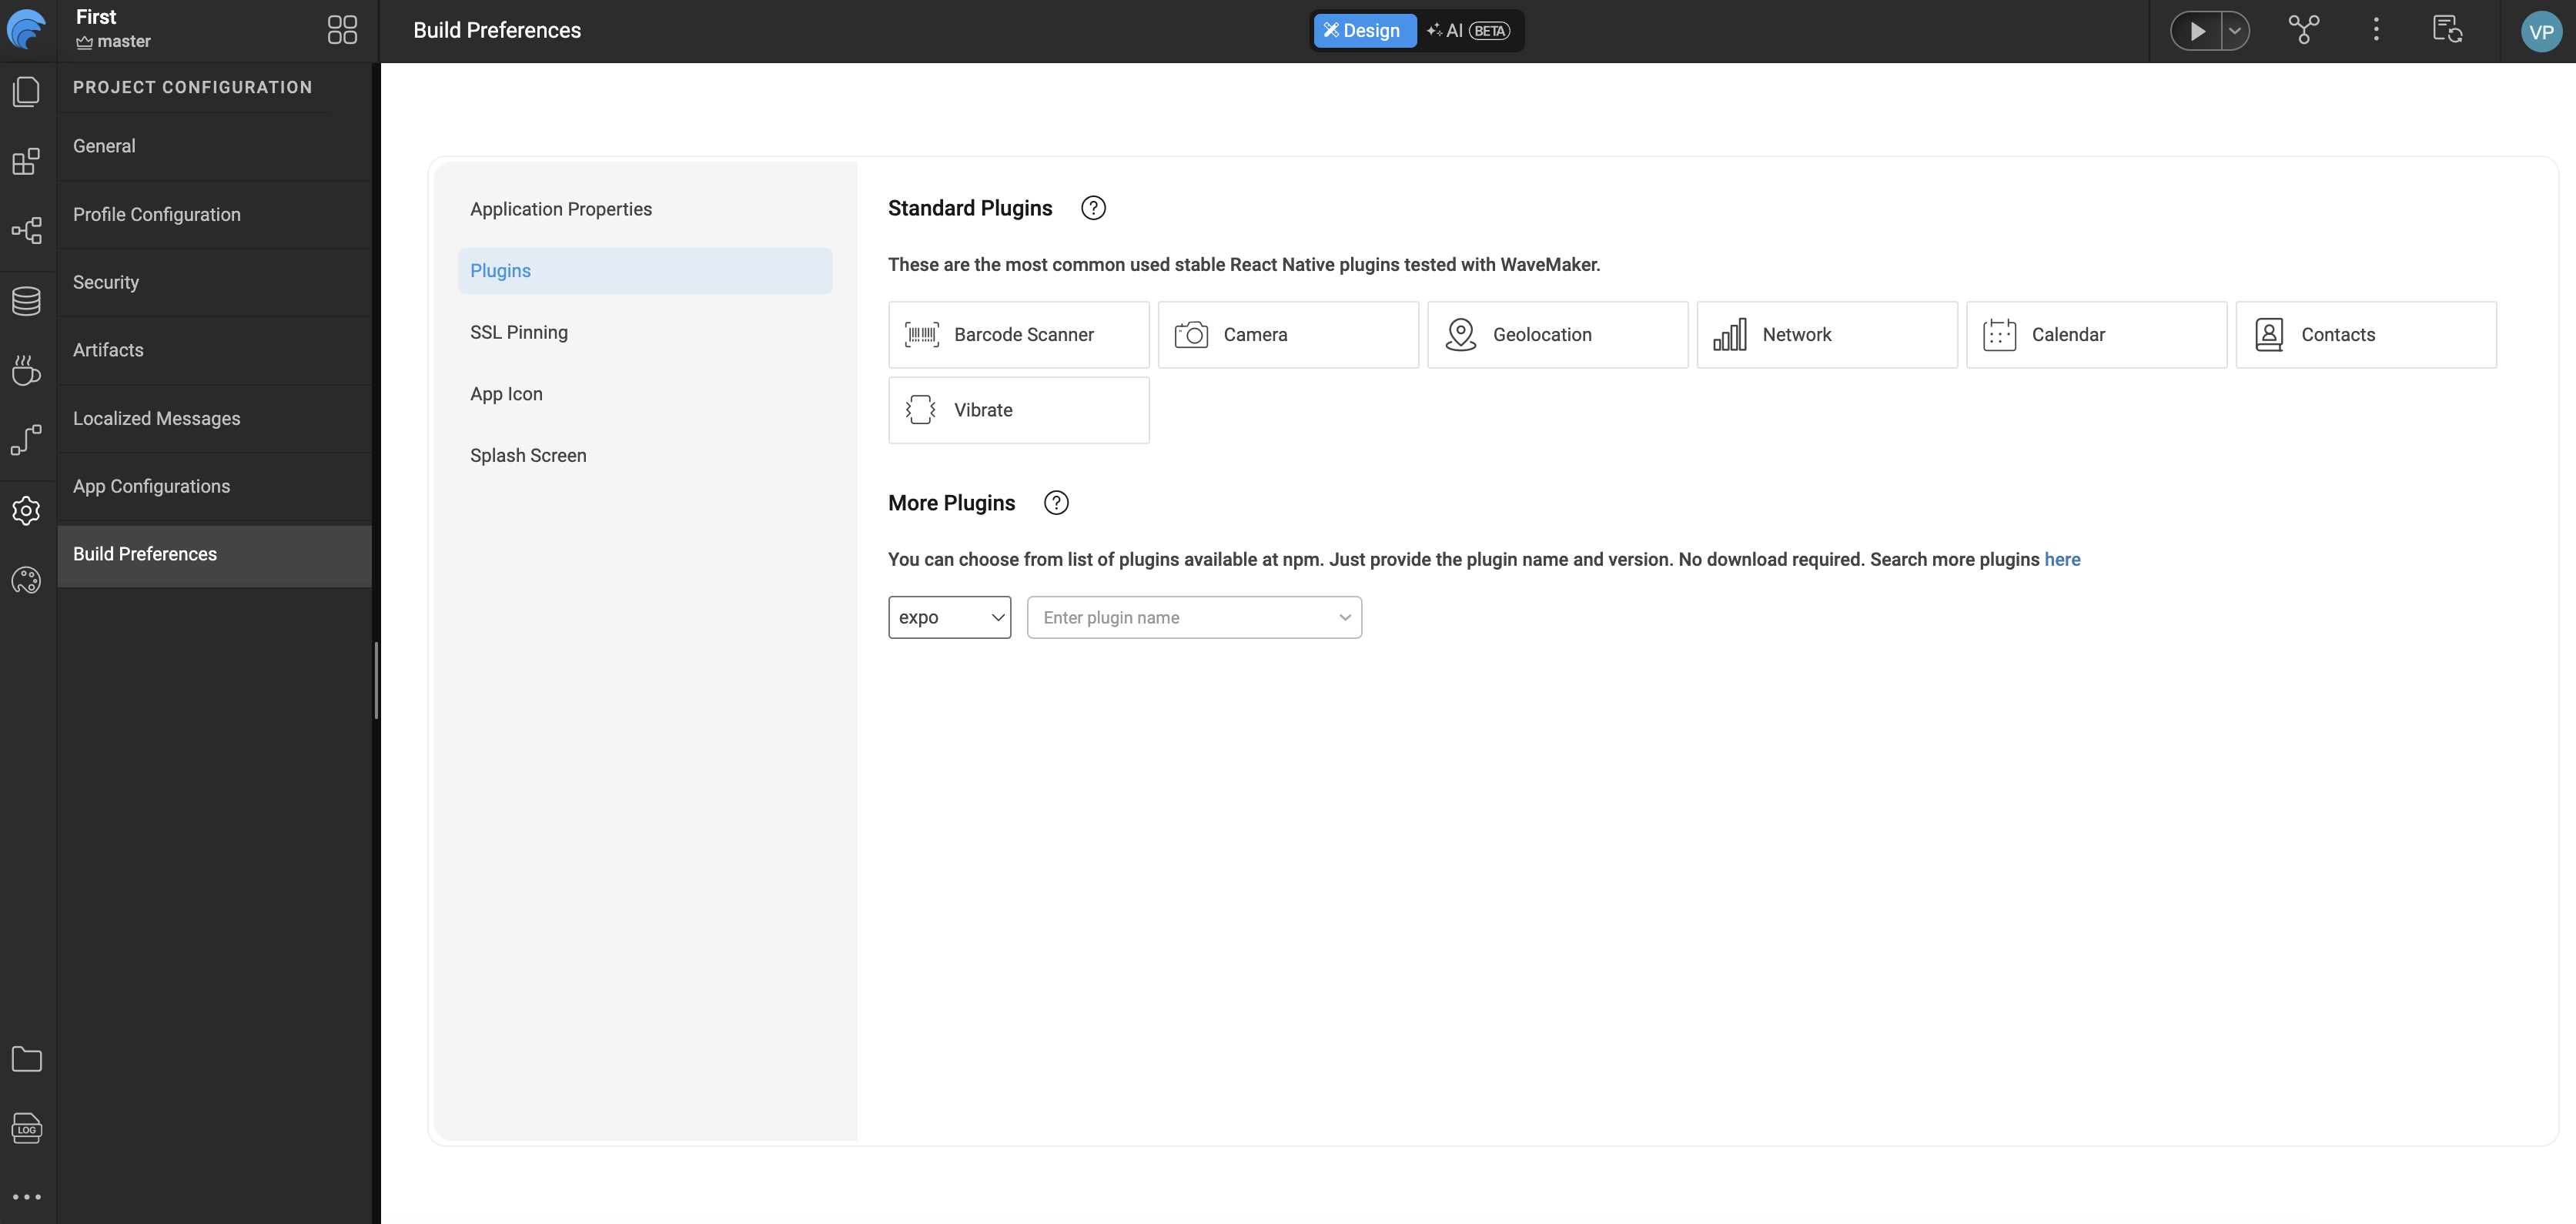
The Plugins tab sits alongside Application Properties, SSL Pinning, App Icon, and Splash Screen under Build Preferences.
Standard plugins
Under Standard Plugins, toggle the built-in options WaveMaker tests with the mobile stack, including:
- Barcode Scanner
- Camera
- Geolocation
- Network
- Calendar
- Contacts
- Vibrate
These are Expo packages WaveMaker already supports for common device features.
More plugins (four sources)
Under More Plugins, choose a source from the dropdown (for example expo), then add package details. You can also search the npm registry from the link on that screen.
| Source | Use for | What you provide |
|---|---|---|
| Expo | Modules from the Expo SDK | Pick from the typeahead; Studio adds name and spec (version). |
| npm | Any package on the npm registry | Package name and version (for example expo-battery and 9.0.1). |
| Git | A package installed from a Git repository | Package name and the GitHub repository URL (see below). |
| Local | A package as a compressed .tgz archive of its source | Package name and upload the .tgz file in Studio. |
Git example: Use the repository URL with a .git suffix (not a /tarball/ link):
https://github.com/react-native-webview/react-native-webview.git
Local example: A .tgz file is a compressed archive of a package’s source code. Upload that file in the Local row after you enter the package name.
Save Build Preferences so wm_rn_config.json includes your plugins:
{
  "plugins": [
    { "name": "expo-battery", "spec": "9.0.1", "variable": [] }
  ]
}
Use a plugin in page script
Call the module from a page or partial Script tab. WaveMaker page scripts use CommonJS require.
Example: expo-battery
Markup (labels to show the value):
<wm-page name="mainpage">
  <wm-mobile-navbar name="mobile_navbar1" title="Battery demo" backbutton="false"></wm-mobile-navbar>
  <wm-content name="content1">
    <wm-page-content name="page_content1">
      <wm-label name="labelBattery" caption="0"></wm-label>
    </wm-page-content>
  </wm-content>
</wm-page>
Script:
const Battery = require('expo-battery');

Page.onReady = function () {
  Page.updateBatteryLevel();
};

Page.updateBatteryLevel = async function () {
  const level = await Battery.getBatteryLevelAsync();
  Page.Widgets.labelBattery.caption = String(level);
};
Test on a device or simulator in your generated Expo app. Some APIs do not behave the same in Studio web preview.
Platform checks
Many Expo modules run only on iOS and Android. Guard web preview with Platform.OS:
const Battery = require('expo-battery');
const { Platform } = require('react-native');

Page.onReady = function () {
  if (Platform.OS !== 'web') {
    Page.updateBatteryLevel();
  }
};
Permissions and native settings
Turning on a plugin in Build Preferences registers the package in wm_rn_config.json. Some modules also need extra native settings (for example why the app uses the camera or Face ID). Those settings belong in app.json, not in the Plugins tab.
| What you need | Where to set it |
|---|---|
| Install the npm package | Build Preferences → Plugins → wm_rn_config.json |
| iOS permission messages, Android permissions, Expo config plugins | app.json — upload in Studio, or edit in generated-expo-app |
Follow the Expo module’s documentation for the exact app.json entries (for example expo.plugins with a faceIDPermission message on iOS).
When users first open camera, location, or contacts in the app, the phone still shows the normal Allow / Don’t allow dialog. That is expected and is not replaced by editing wm_rn_config.json or app.json.
Practices
- Prefer Expo or WaveMaker standard plugins before arbitrary npm packages.
- Match package versions to your app’s Expo SDK (see Expo SDK compatibility).
- Test on real devices for hardware APIs (battery, sensors, camera).
- Some packages need a full native app build and do not work in Expo Go alone. See Mobile build overview when you need a development or release build.